Bubbles? Yes – boost your cuttings with an aquarium bubbler!
This is going to be both a brief water propagation guide and an experiment. The experiment side is focused on our theory that using an air bubbler improves water cutting success rates. We have been using bubblers for a while now, but haven’t ever done a side-by-side experiment, so here we go!
Here is what you will need:
- 2x Glass Jars
- 2x 2″ Foam Collars
- 8x Toothpicks
- Sharp Pruning Shears
- Healthy plant to take cuttings from
- Water
- Bubbler
- Tubing
- 2x Air Stones
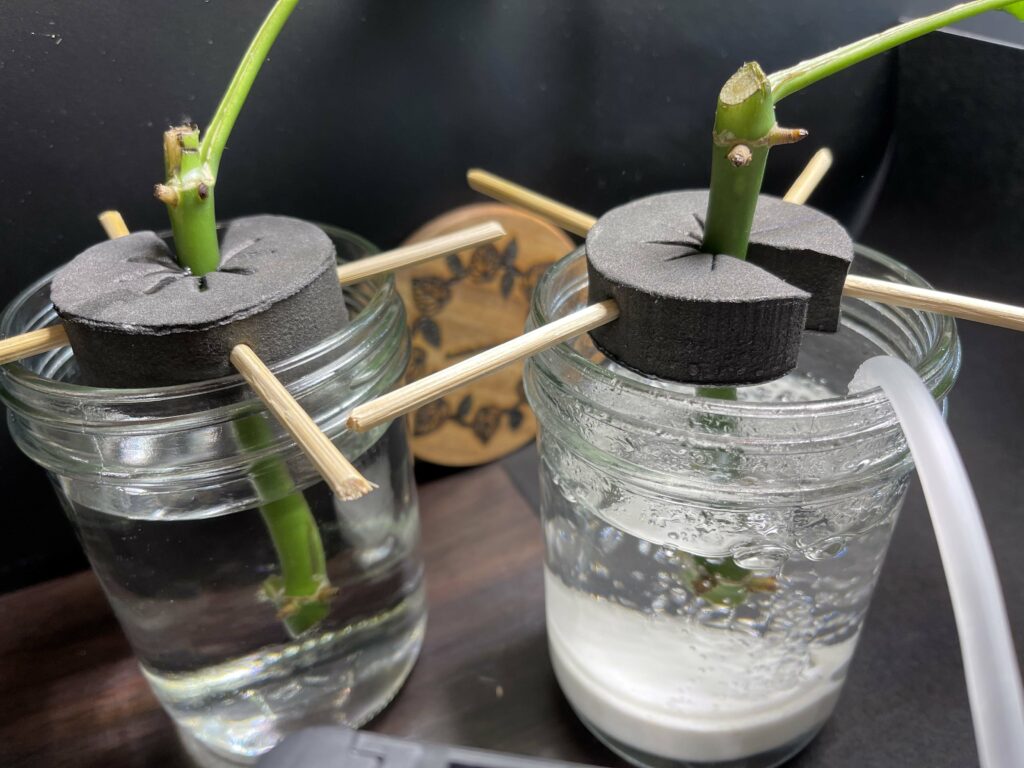
First, select a healthy plant to take your cuttings from. Our two cuttings are from a healthy Raphidophora tetrasperma. Make sure that each cutting has the same quantity of nodes (two nodes each). Each jar will have tap water in it. Depending on the quality of your water, tap water may be fine – our tap water was tested to have a Total Dissolved Solids (TDS) reading of “40”, which is great. Additionally, our tap water doesn’t have chlorine in it. TDS basically will show anything in your water that isn’t H20 (e.g., minerals, salt). If you are not sure about your tap water quality – an inexpensive TDS meter can be purchased for less than $20. The only difference in the two jars will be that one has an air stone attached to an aquarium bubbler to maintain high levels of oxygen in the water and the other will contain just water.
Which cutting will develop new roots faster? Let’s check it out!
We started by pouring water into both jars and placing the connected air stone into the jar on the right. Sanitize your pruning shears and make a 45-degree angled cut just below the second node for each cutting. We then placed each cutting in a foam collar with the first node sticking out just above the collar. The tooth picks are inserted into each collar to keep the collar above the rim of each jar.
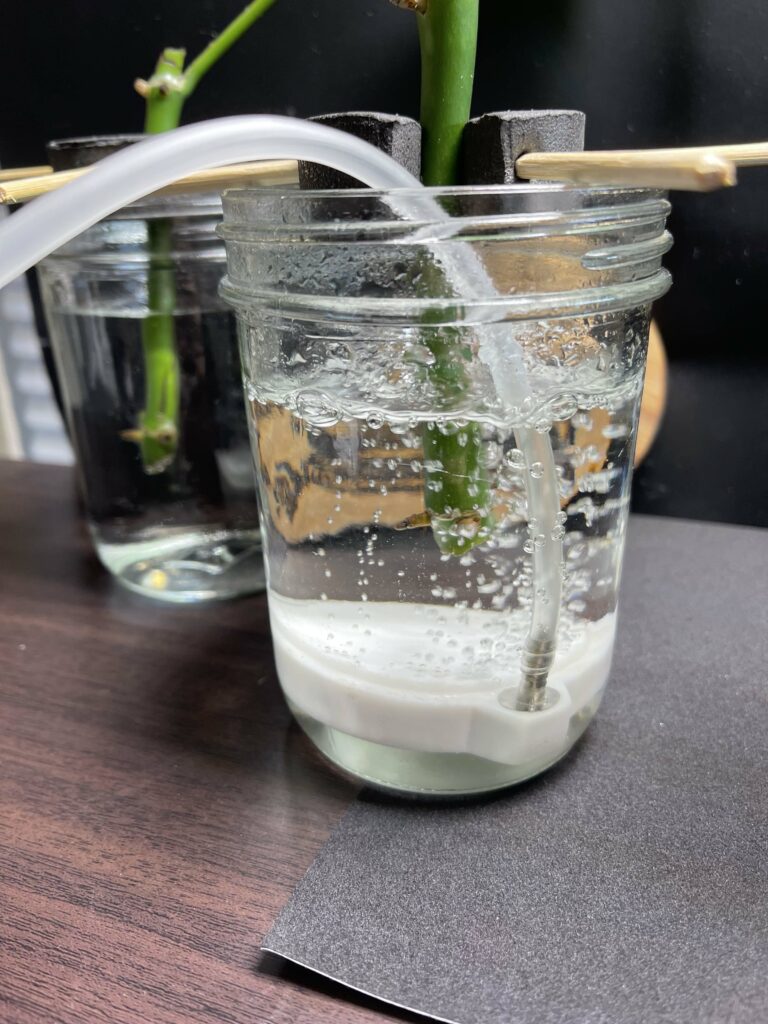
Now with the cuttings in place, we start up the bubbler.
We used a GoPro Hero8 Black to capture a timelapse video of the experiment. The camera was set to capture an image every 5 seconds over the course of 6 days. We removed all non-lit (e.g., night time) photos to create the final video below.
Like any experiment, you may not get the same results, but in our experience so far – water propagation efficiency is greatly increased when an air bubbler is used.
For all of you that enjoy water propagation, we hope this provides you a nice boost and shortens your time from cutting to planting!
If you are looking for a great bubbler, we used the Kedsum 2-port bubbler below and have been really happy with it. I even use one feeding two air stones into the water tank of my aeroponic cloner – it’s amazing!
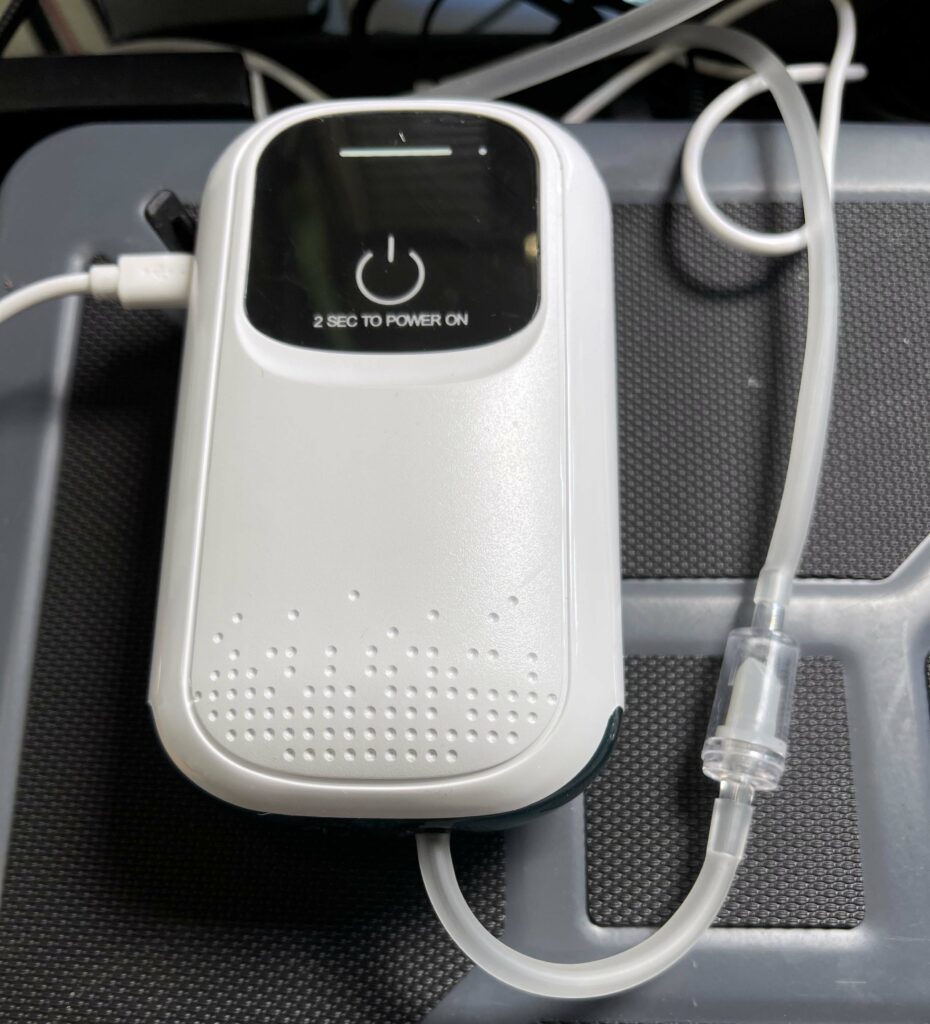
Affiliate link below for the Kedsum bubbler – which has two outlets and includes the necessary air stones and tubing for under $30!