Bubbles? Yes — boost your cuttings with an aquarium bubbler!
This is both a brief water propagation guide and an experiment. The experiment is focused on whether using an air bubbler improves water cutting success rates. This setup has been used for a while, but this is the first documented side-by-side comparison.
What You'll Need
- 2× Glass Jars
- 2× 2″ Foam Collars
- 8× Toothpicks
- Sharp Pruning Shears (sanitized)
- Healthy plant to take cuttings from
- Water (TDS tested — see below)
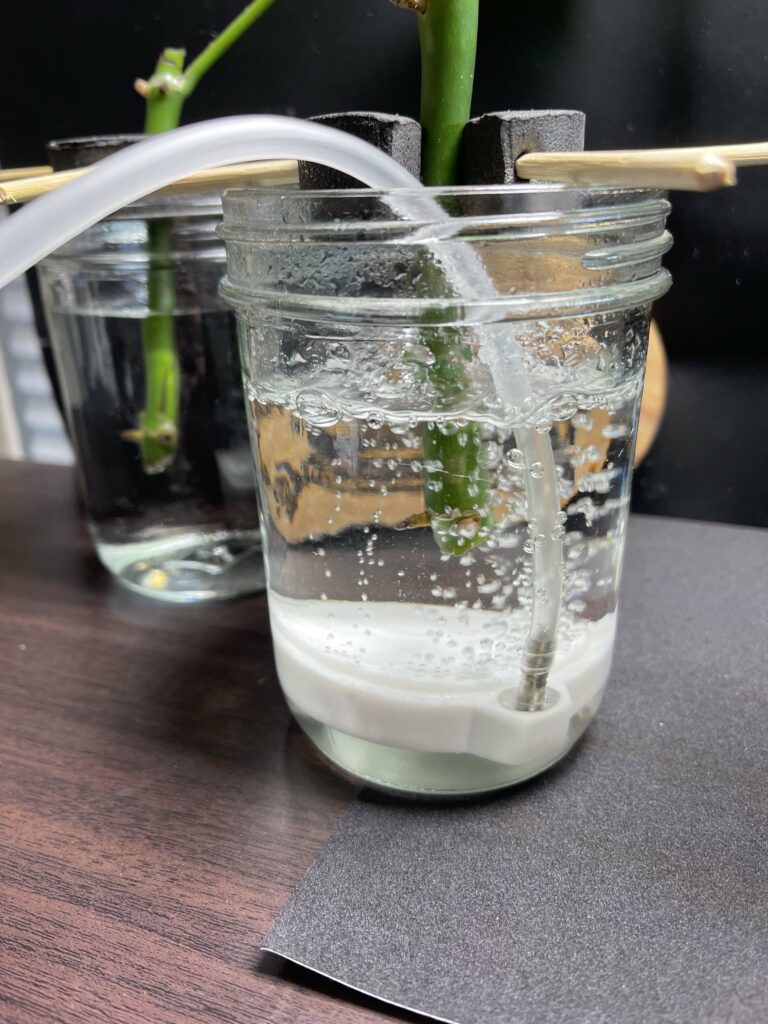
- Aquarium bubbler with tubing and 2× air stones
Select a healthy plant to take cuttings from. For this experiment: a healthy Raphidophora tetrasperma. Each cutting must have the same number of nodes (two each). Each jar gets tap water. Our tap water tested at a TDS of "40" — an excellent reading, with no chlorine detected. If unsure about your water quality, an inexpensive TDS meter can be purchased for under $20.
The only variable between the two jars: one has an air stone connected to an aquarium bubbler to maintain high oxygen levels; the other has plain water.
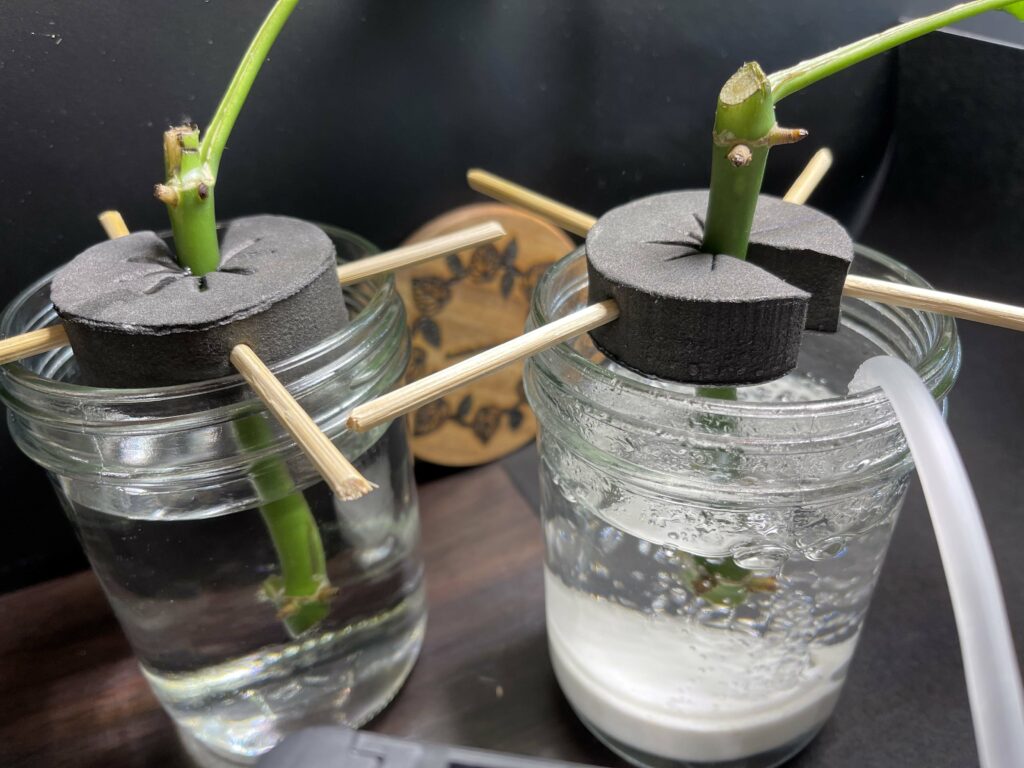
Sanitize your shears. Make a 45-degree angled cut just below the second node on each cutting. Place each cutting in a foam collar with the first node just above the collar. Insert toothpicks to keep the collar above the jar rim. Start the bubbler.
A GoPro Hero8 Black captured a timelapse — one image every 5 seconds over 6 days, with all nighttime frames removed for the final edit.
Like any experiment, your results may vary — but in practice, water propagation success is significantly improved with an air bubbler.

The bubbler used is the Kedsum 2-port bubbler — two outlets, includes air stones and tubing, under $30. The same model feeds two air stones in an aeroponic cloner setup.